
 English
Setting up a smart board for office use is not as simple as ordering a TV and hanging it on the wall. The screen is the centerpiece, yes — but the room around it determines whether your team actually uses it, or whether it becomes expensive wallpaper that everyone walks past.
A well-planned meeting room setup considers four things before the board ever arrives: the room itself, the right screen size, how the board gets mounted, and what companion equipment you actually need. Skip any one of these, and you will be troubleshooting on Monday morning instead of starting your meeting.
Room Assessment: What to Check Before You Buy
Before you look at a single spec sheet, walk into the room and look around. The room tells you more about what you need than any product brochure ever will.
Seating layout matters first. How many people sit in this room, and where? A room where everyone faces the front needs a different setup than a room where people sit around a U-shaped table. The furthest viewer's distance from the screen sets your minimum size requirement.
Natural light is the second thing. A room with floor-to-ceiling windows and no blinds needs a brighter display — at least 400 to 450 nits — or your presentations will wash out every afternoon. A windowless interior room can get by with 350 nits. Walk through at different times of day and note where the sunlight lands.
The wall where the board will go needs three things: enough physical space for the screen plus clearance on all sides, a power outlet within reach of the board's power cable, and wall material that can hold the weight. A 65-inch interactive flat panel weighs 80 to 100 pounds. Drywall with no studs behind it is not going to work without additional reinforcement.
Acoustics matter more than most offices realize. A room with hard floors, bare walls, and glass surfaces will echo badly during video calls. If the room sounds hollow when you clap, plan for acoustic panels or at minimum a conference speakerphone with echo cancellation.

Size Selection: Matching the Board to the Room
The right size for a smart board for office meeting rooms follows a straightforward logic — and getting it wrong is the most expensive mistake you can make.
A 55-inch board fits a small huddle room with 4 to 6 people sitting close to the screen. Everyone is near enough that text remains readable, and the board does not overwhelm the compact space. These rooms are for quick stand-ups and small team syncs — the board should feel handy, not imposing.
A 65-inch board handles the standard meeting room with 8 to 12 people around a conference table. This is the most popular size for good reason: it is large enough for spreadsheet details to stay legible from across the table, while fitting comfortably on most office walls. If you are outfitting multiple rooms and need one size that works everywhere, 65 inches is your starting point.
A 75-inch board steps up for larger conference rooms seating 12 to 20 people. At these distances, the extra 10 inches makes the difference between people squinting at the fine print and people actually engaging with the content. For training rooms and departmental meeting spaces, this is often the sweet spot.
An 86-inch board belongs in boardrooms, lecture spaces, and rooms where the furthest seat is more than 15 feet from the screen. At this size, 4K resolution is non-negotiable — 1080p will show visible pixelation from normal viewing distances.
A huddle room with four to six people does well with a 55-inch board. A standard meeting room seating eight to twelve calls for a 65-inch. A large conference room with twelve to twenty people needs a 75-inch. Boardrooms and training rooms with twenty or more people should go with an 86-inch — anything smaller and the people in the back row stop paying attention.
One rule of thumb worth remembering: the screen height should be roughly one-sixth the distance to the furthest viewer. Measure that distance before you shop, and the size decision becomes a calculation instead of a guess.
Installation Methods: Wall Mount vs. Mobile Stand
How you install the board shapes how the room gets used. Each option has clear trade-offs — and the right choice depends on how your team actually works.
Fixed Wall Mount
A wall-mounted board creates a permanent, professional look. The board sits flush against the wall, cables route cleanly behind it or through the wall, and the installation communicates that this room was designed — not improvised.
The advantages are real. Fixed mounts are the most affordable mounting option, typically running $80 to $200 for the bracket itself. They keep the board stable at a consistent height, and professional installation with concealed cabling makes the room look polished.
The trade-off is permanence. Once the board is mounted, reconfiguring the room means hiring an installer again. If your office layout changes every year, a fixed mount might frustrate you later.
A fixed wall mount works best for dedicated meeting rooms that are not going to be rearranged — the kind of room that has one purpose and keeps it.

Mobile Floor Stand
A mobile stand puts the board on wheels with height adjustment — and suddenly the board can go wherever the meeting happens. Push it from the training room to the open area for an all-hands. Roll it into a breakout space for a workshop. Tuck it against the wall when the room needs to serve another purpose.
Mobile stands cost more — $250 to $600 depending on build quality and height adjustment range — and they require floor space for the base, which can be substantial on larger models. Cables are more visible since there is no wall to hide them behind, though most stands include cable management channels.
The real advantage is flexibility. Startups, co-working spaces, and offices that frequently repurpose rooms find that mobile stands pay for themselves the first time they avoid re-mounting a board.
For most corporate offices, the decision comes down to this: if the room has one job and always will, mount it on the wall. If the room might need to be something else tomorrow, put it on wheels.
Companion Equipment: What You Actually Need
A smart board for office meetings can function right out of the box — but a few companion devices turn a functional setup into a seamless experience.
The OPS Module: When Built-in Android Is Not Enough
Most interactive flat panels run on built-in Android. For whiteboarding, wireless screen sharing, web browsing, and basic video calls, this is sufficient. No external PC required.
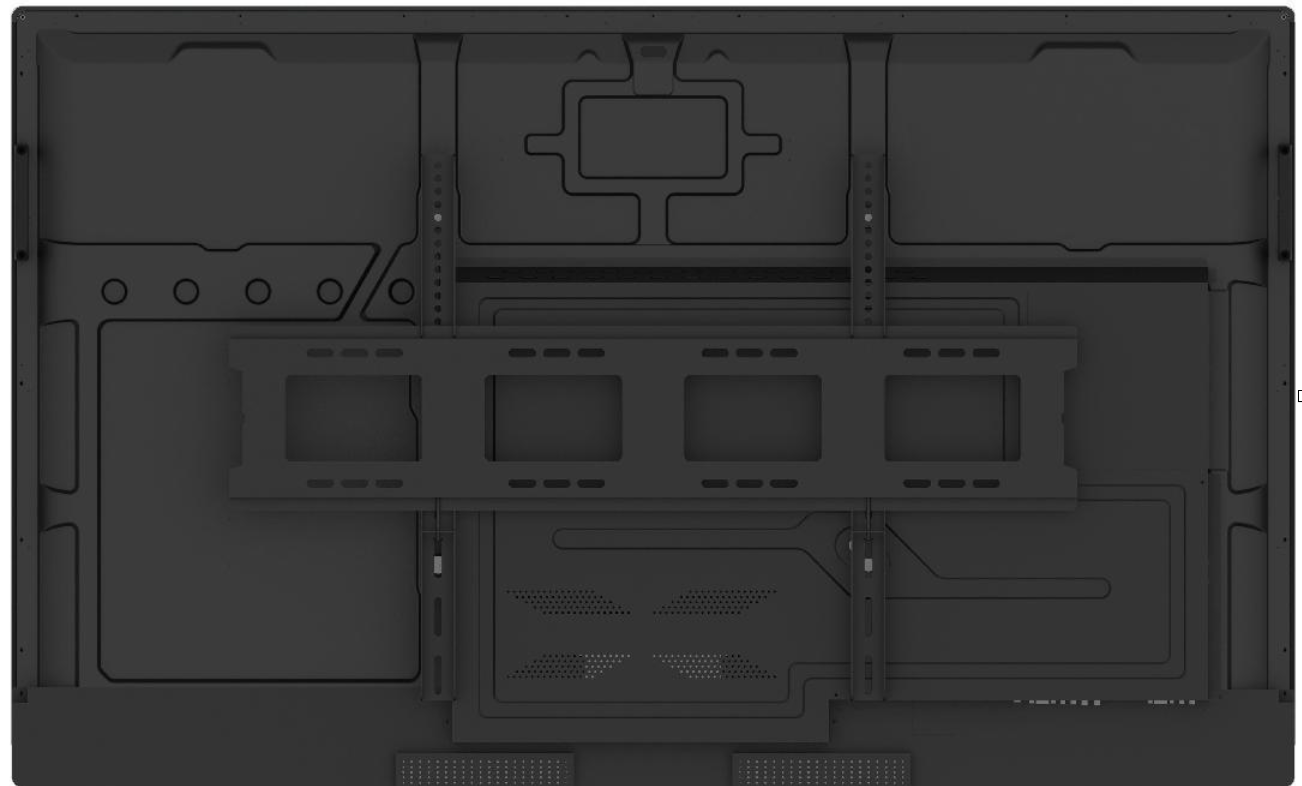
But if your team needs full Windows applications — running PowerPoint with complex animations, using specialized enterprise software, or accessing a corporate network that requires Windows authentication — an OPS module slots into the board and transforms it into a full Windows PC. The module is about the size of a paperback book, installs in seconds, and avoids the cable clutter of an external mini PC sitting on the conference table.
LonTon boards include an OPS slot as standard, so you do not need the Windows module on day one — but when your needs grow, the upgrade path is already built in.
Cables: The Small Things That Cause Big Delays
A good setup needs at least one high-quality HDMI 2.1 cable long enough to reach from the board to the conference table, and a USB-C cable for laptops that use USB-C for video output and charging. Budget $50 to $100 for cables and label both ends — the person running the meeting at 8 AM should not have to guess which cable is which.
Camera and Microphone
Many interactive flat panels now ship with built-in 4K cameras and microphone arrays. For a standard meeting room seating 8 to 12 people, built-in audio and video often do the job. The camera covers the table, the microphone picks up voices from every seat, and there is nothing extra to plug in or troubleshoot.
If your room is larger, or if the camera angle from the board position does not cover the entire seating area, an external USB conference camera and a dedicated speakerphone may be necessary. The cost is $100 to $500 depending on quality, but check the board's built-in capabilities first — you may not need them at all.
Wireless Screen Sharing
Wireless casting is one of those features that sounds like a nice-to-have until you work in a room without it. The ability for anyone — Mac, Windows, iPhone, Android — to share their screen without finding the right dongle or adapter transforms how meetings start.
Most interactive flat panels support AirPlay, Google Cast, and Miracast through built-in software, sometimes requiring a one-time license activation. Confirm this with your supplier before ordering so there are no surprises after installation.
Getting It Right the First Time
The difference between a meeting room people want to book and one that sits empty is rarely about the board itself. It is about whether the room feels ready.
A room that was planned — where the screen is the right size, the mount fits the workflow, the cables are labeled, and the wireless casting works on the first try — sends a quiet message: this company knows what it is doing. A room that was improvised sends the opposite message, and your team will find somewhere else to meet.
As a professional manufacturer, LonTon has been helping offices, schools, and training centers set up interactive meeting rooms since 2005. If you are planning an office upgrade and want to make sure the room works on day one — not day thirty — we are happy to walk through your specific layout and recommend the right setup.
[Contact LonTon — Let's Plan Your Meeting Room]