
 English
Accessories for Interactive Display Setup: What You Actually Need (2026)
You bought the interactive flat panel. It arrives. You unbox it.
And then you realize — the panel is just the panel. It does not come with a wall mount. It does not come with a stylus. The camera, the cables, the stand, the wireless dongle — none of that was in the box unless you specifically asked for it.
This catches a surprising number of first-time buyers off guard. Here is what you actually need for an accessories interactive display setup, what is optional, and what you should negotiate before you pay.
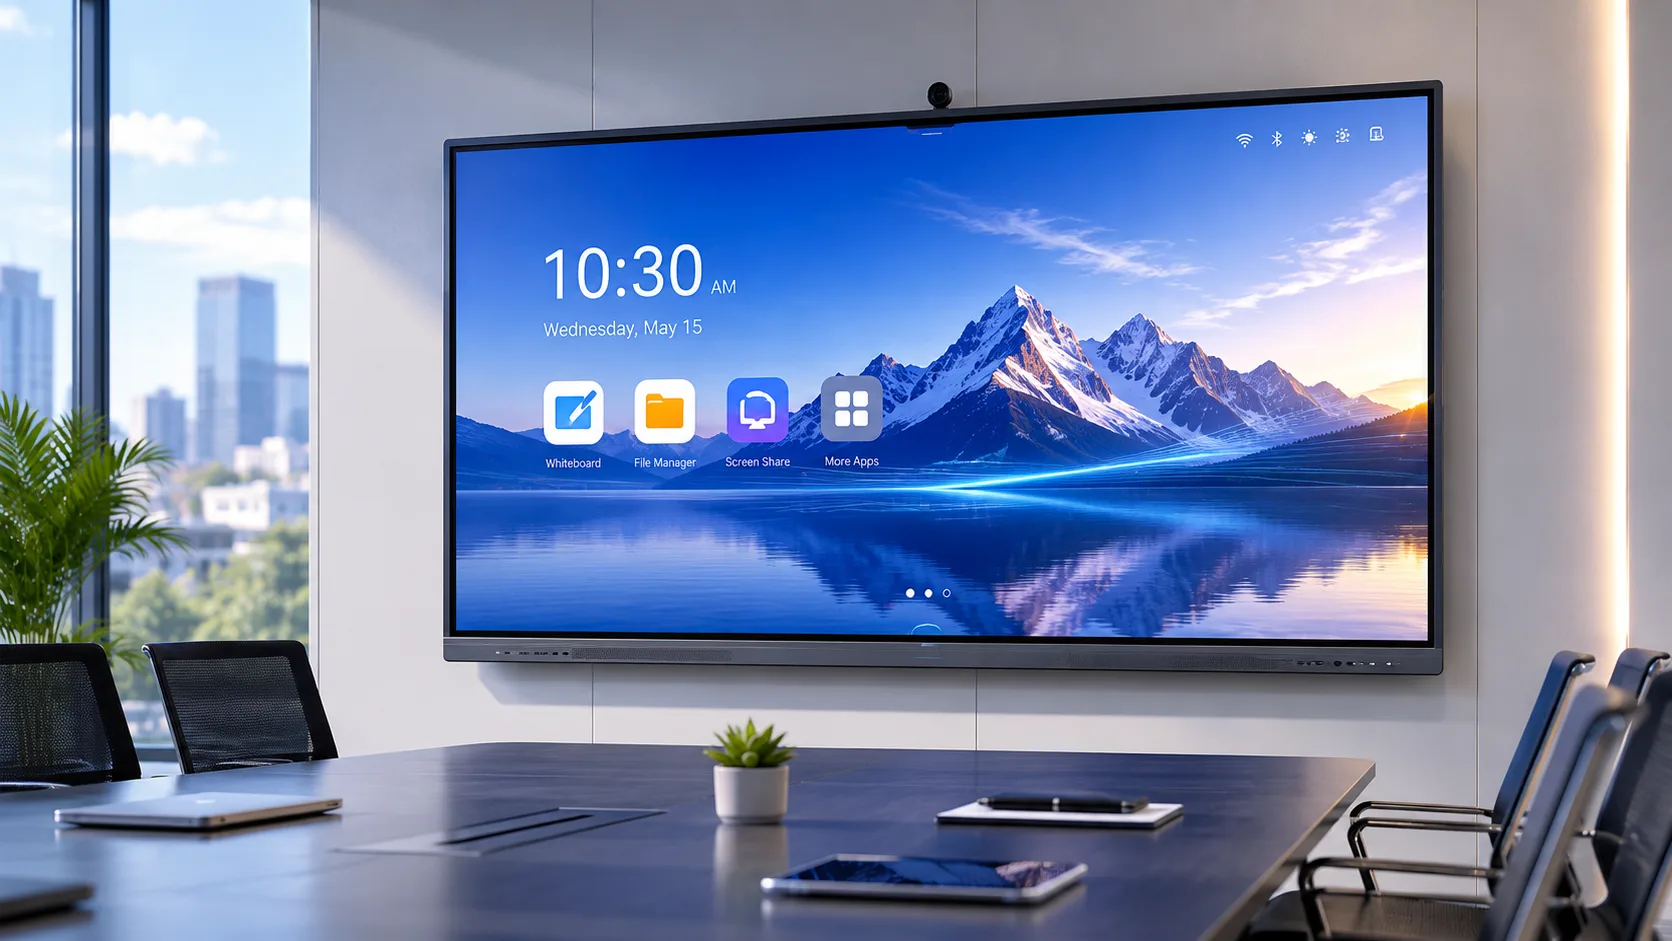
Wall Mount — Not Optional, Not Universal
The panel needs to attach to something. A fixed wall mount is the most common choice. It holds the panel flat against the wall, close to the surface, looking clean and permanent.
Wall mounts are not universal. Different panel sizes and weights require different brackets. A mount rated for a 65-inch panel may not safely hold an 86-inch one. Ask the supplier which mount they recommend for the specific model and size you ordered. Do not buy a generic mount from a third party and hope it fits.
If your wall is drywall, you need to hit studs. If your wall is glass, you need a specialized mount designed for glass mounting. If your wall is masonry, you need different anchors. The mount itself is $50 to $300. The installation — drilling, leveling, securing, hiding cables — costs more and depends entirely on what your wall is made of.
Mobile Stand — When You Need to Move It
A mobile stand puts the panel on wheels so you can roll it between rooms. This is practical for schools that share one panel across multiple classrooms, training centers with flexible layouts, or offices that host events in different spaces.
The trade-off is floor space. A rolling stand with a 75-inch panel on it has a significant footprint. It also needs to be stable — a top-heavy panel on a cheap stand is a tipping hazard, especially in a school with children or a busy hallway with foot traffic.
Budget $200 to $600 for a good stand. The stand should include cable management channels so wires do not dangle and snag. Some stands have a built-in shelf for a laptop or a document camera — useful if someone presents from the front of the room regularly.
Stylus — More Important Than You Think
You can write on an interactive flat panel with your finger. But your finger is not precise. After about ten minutes of annotating slides or solving math problems with a fingertip, most people want a stylus.
Infrared panels work with any object — a stylus, a pen, the back of a marker. The stylus does not need to be electronic. Capacitive panels usually require an active stylus that communicates with the screen. Make sure you know which type your panel needs before ordering a dozen replacements.
Buy more styluses than you think you need. They walk away. They fall behind the desk. They end up in the wrong room. A classroom with one stylus for a thirty-student class is a classroom where the interactive features get used less. Budget $20 to $80 per stylus and order spares.

Camera and Microphone — Decide Before You Buy
Some interactive flat panels have a built-in camera and microphone array. Some do not. Some have the slot and the wiring but not the hardware — you add it later.
If your meetings or lessons regularly include remote participants, a room-facing camera is not optional. A wide-angle camera that captures the whole room — not just the person standing closest to the screen — makes the difference between remote colleagues feeling included or feeling like they are watching a surveillance feed.
A separate microphone array or a ceiling microphone system picks up voices from every seat. The built-in microphones on most panels are decent for a small huddle room. For a boardroom with twelve people, they fall short. Factor this into your accessories interactive display setup budget before the panel is mounted — retrofitting audio after the fact is more expensive and more disruptive.
Cables and Cable Management
The panel needs power. That means a power cable that reaches from the panel to the nearest outlet. If the outlet is not directly behind the panel, you are either running an extension cord along the wall or paying an electrician to add an outlet.
HDMI cables, USB cables, Ethernet cables — you may or may not need them depending on how you connect. If your setup relies on wired connections, invest in cables long enough to route cleanly through the wall or along the baseboard, not dangling across open space. If you use wireless screen sharing for everything, the cable count drops to one — power.
Cable management channels or in-wall routing kits keep the installation clean. A panel with visible cables looks unfinished. In a conference room where clients visit, that matters.
Wireless Sharing Dongle — Sometimes Included, Sometimes Not
Some panels include built-in wireless sharing that works with AirPlay, Google Cast, and Miracast natively. Others require an external dongle plugged into a USB port to enable one or more of those protocols.
Ask before you buy. If the dongle is not included, budget $50 to $200 per panel. If you are buying panels for multiple rooms, this adds up fast. Some manufacturers — LonTon included — pre-install the sharing software so no dongle is needed — confirm this in writing before you sign.
Spare Parts and Consumables
Stylus tips wear down — especially in classrooms where twenty students use the board daily. Replacement tips are cheap. Not having them means a stylus that skips and drags.
Power cables get lost. Remote controls vanish. If your panel comes with a remote, order a spare. If the panel has an external power brick instead of an internal power supply, order a spare for that too — external bricks fail more often than internal ones, and a $50 spare saves a two-week wait when the original dies.
Most of these accessories are not expensive individually. Together, they can add several hundred to several thousand dollars to the total cost — depending on how many rooms you are outfitting and how complete you want the setup to be.
The right time to plan for accessories is before the panel ships, not after it is on the wall. Ask your supplier for a complete list of what is included and what is separate. If something is optional, decide whether you need it before installation — because adding it later always costs more.
LonTon has been manufacturing interactive flat panels since 2005 and can help you plan a complete accessories interactive display setup from wall mount to spare stylus tips. Click the button at the bottom right of this page and tell us about your rooms and what you need the board to do. We will make sure nothing gets missed.